
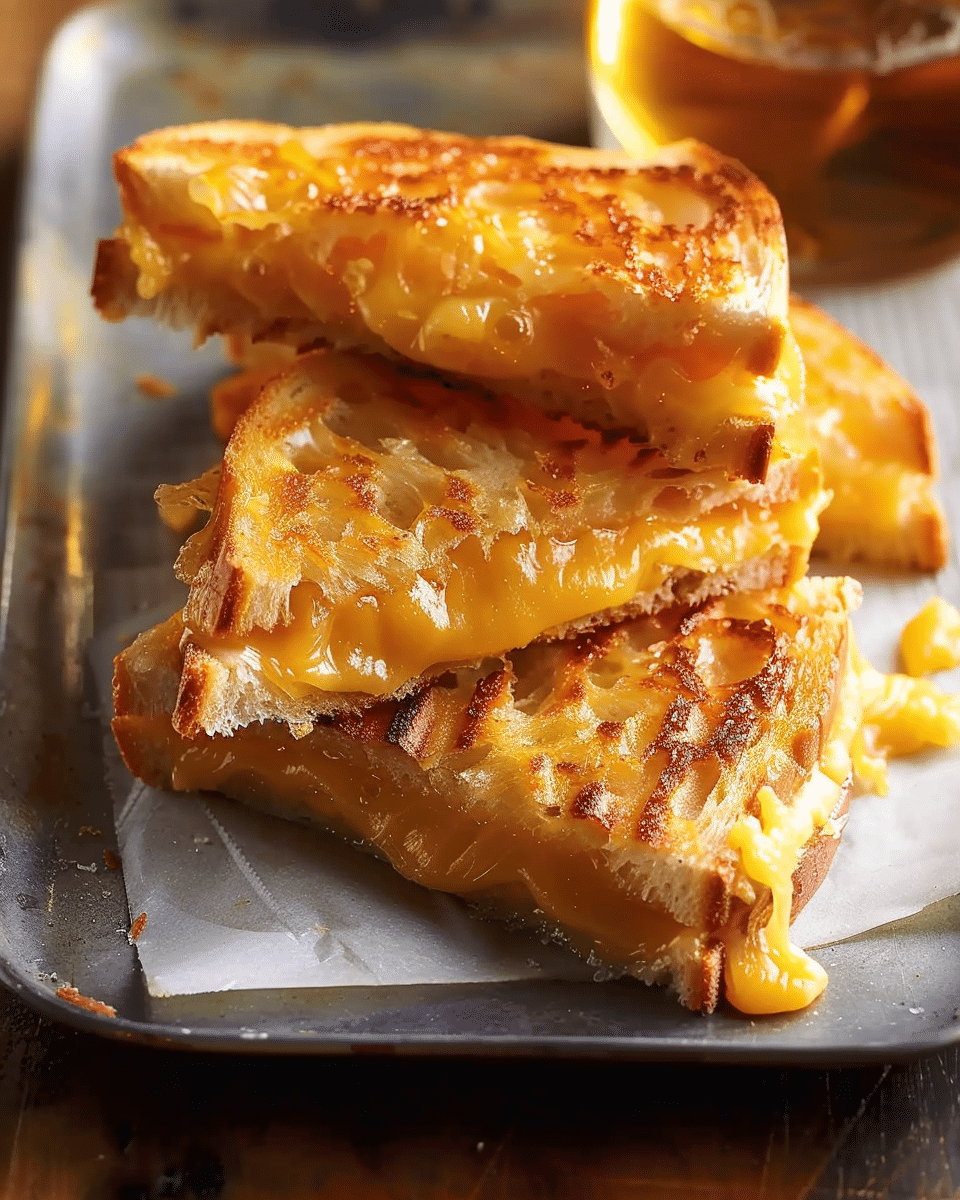
A crowd-pleasing twist on classic grilled cheese: mini sandwiches filled with a zesty, cheesy spread, baked until melty and golden.
Why You’ll Love This Recipe
These Mini Grilled Cheese bites are easy to make, deliciously cheesy, and perfect for parties or family gatherings. The combination of sharp American cheese spread, cheddar, green chiles, and salsa creates bold, savory flavor in every bite. Plus, they bake in the oven—no stovetop fuss.

Ingredients
(Tip: You’ll find the full list of ingredients and measurements in the recipe card below.)
- 1 cup butter, softened
- 2 jars (5 oz each) sharp American cheese spread, softened
- 1 large egg
- 1 can (4 oz) chopped green chiles, drained
- ¼ cup salsa
- 2 cups shredded cheddar cheese
- 2 loaves (1½ lb each) thinly sliced sandwich bread, crusts removed
Directions
- Preheat Oven
Preheat your oven to 350 °F (175 °C) and line a baking sheet with parchment paper. - Make Filling
In a large bowl, cream together softened butter, American cheese spread, and the egg until smooth and well combined. - Add Flavor Mix-ins
Stir in drained green chiles, salsa, and shredded cheddar cheese until everything is evenly incorporated. - Assemble Sandwiches
Spread about 1 Tbsp of the cheese mixture onto each slice of bread in one loaf. Top with remaining bread slices. Optionally, spread a bit of mixture on the top slices. - Cut and Bake
Cut each sandwich into four squares or triangles and arrange them on the prepared baking sheet. - Bake
Bake for 10–15 minutes, or until the cheese melts and sandwiches are hot and slightly golden. - Serve
Serve warm as mini appetizers, party snacks, or comfort food for a crowd.
Servings And Timing
- Makes: about 64 mini sandwiches (2 loaves × 16 per loaf)
- Prep time: ~15 minutes
- Bake time: 10–15 minutes
- Total time: ~25–30 minutes
Variations
- Extra spice: Add a pinch of chili powder or cayenne to the filling.
- Different cheese: Use pepper jack, mozzarella, or a cheese blend for new flavor profiles.
- Add-ins: Mix in cooked bacon bits, diced jalapeños, or chopped herbs.
- Alternate bread: Use slider buns, horseradish bread, or gluten-free bread alternatives.
Storage/Reheating
- Refrigerate: Store cooled mini sandwiches in an airtight container for up to 2 days.
- Reheat: Bake at 350 °F for 5–7 minutes or microwave briefly until warm.
- Freeze: Freeze unbaked sandwiches in a single layer, then bake from frozen—add a few extra minutes to the bake time.

FAQs
1. Can I make them ahead of time?
Yes—assemble and refrigerate for a few hours before baking, or freeze them overnight and bake later.
2. Do I need to remove the crusts?
It’s optional. Removing crusts creates a uniform, bite-sized finish, but they’re delicious with crusts too.
3. Can I use another cheese spread?
Yes—other flavored spreads (like garlic herb) work well for different taste twists.
4. What dipping sauces pair well?
Serve with salsa, ranch, queso dip, or marinara sauce.
5. Are they kid-friendly?
Absolutely! Mild and cheesy, they’re a hit with kids—and family-friendly.
6. How do I prevent soggy bread?
Use a light spread and bake immediately; removing excess moisture from fillings helps, too.
7. Can I make these vegetarian?
Yes—as written, the recipe is vegetarian. Want vegan? Try vegan cheese and butter alternatives.
8. Can I air-fry them?
Yes—air-fry at 350 °F (175 °C) for 5–7 minutes until cheese melts and bread crisps.
9. How do I keep them from drying out?
Cover leftovers with foil when reheating or store in an airtight container to retain moisture.
10. Can I halve the recipe?
Yes—use one loaf and half of each ingredient to make ~32 mini sandwiches.
Conclusion
These Mini Grilled Cheese sandwiches are quick, customizable, and irresistibly cheesy. Perfect for feeding a crowd, kids’ parties, or cozy snacks, they bring fun and flavor in every bite. Whip up a batch, bake, and enjoy the ooey-gooey goodness!
Print
Mini Grilled Cheese
- Total Time: 25–30 minutes
- Yield: About 64 mini sandwiches
- Diet: Vegetarian
Description
A crowd-pleasing twist on classic grilled cheese: mini sandwiches filled with a zesty, cheesy spread, baked until melty and golden.
Ingredients
1 cup butter, softened
2 jars (5 oz each) sharp American cheese spread, softened
1 large egg
1 can (4 oz) chopped green chiles, drained
¼ cup salsa
2 cups shredded cheddar cheese
2 loaves (1½ lb each) thinly sliced sandwich bread, crusts removed
Instructions
- Preheat oven to 350 °F (175 °C) and line a baking sheet with parchment paper.
- In a bowl, cream together butter, American cheese spread, and egg until smooth.
- Stir in green chiles, salsa, and shredded cheddar until well combined.
- Spread about 1 Tbsp of mixture onto each bread slice from one loaf, top with remaining slices (optionally spread on top slice).
- Cut each sandwich into 4 pieces and arrange on the baking sheet.
- Bake 10–15 minutes until cheese melts and edges are golden.
- Serve warm as mini appetizers or snacks.
Notes
- Add chili powder or cayenne for extra heat.
- Try pepper jack, mozzarella, or cheese blends for variation.
- Mix in bacon bits, jalapeños, or fresh herbs for extra flavor.
- Use slider buns, horseradish bread, or gluten-free bread as alternatives.
- Prep Time: 15 minutes
- Cook Time: 10–15 minutes
- Category: Appetizer
- Method: Baked
- Cuisine: American
Nutrition
- Serving Size: 2 mini sandwiches
- Calories: 180
- Sugar: 1g
- Sodium: 360mg
- Fat: 12g
- Saturated Fat: 7g
- Unsaturated Fat: 4g
- Trans Fat: 0g
- Carbohydrates: 12g
- Fiber: 0.5g
- Protein: 5g
- Cholesterol: 35mg


